Vermi-composting:
Key Notes :

1. What is Vermicomposting?
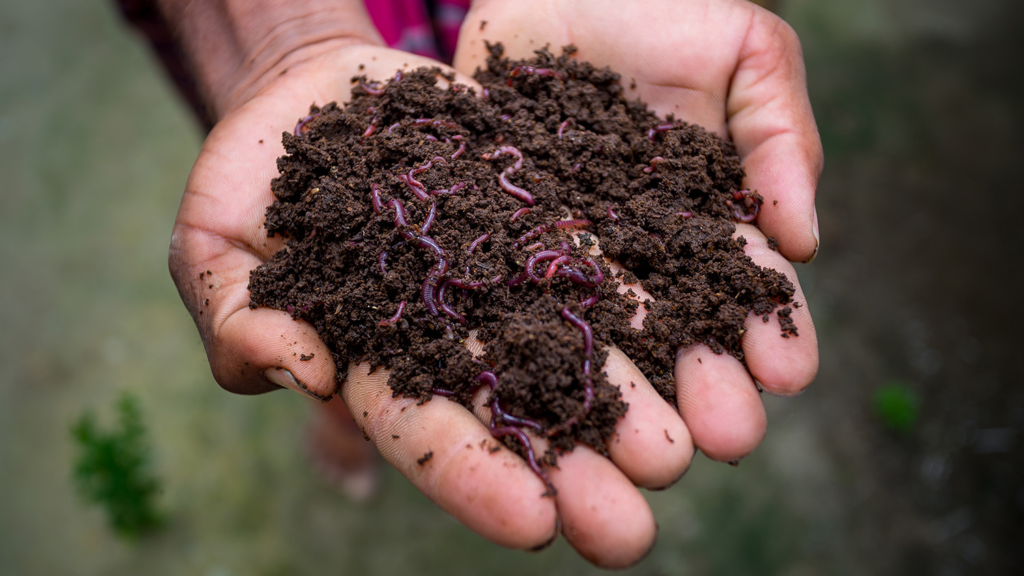
- Vermicomposting is the process of using earthworms to convert organic waste into nutrient-rich compost.
- It helps in recycling kitchen waste, plant matter, and other organic materials into a useful product for enriching the soil.
2. The Role of Earthworms
- Earthworms are the key organisms involved in vermicomposting.
- They consume organic waste and produce castings (worm poop) that are rich in nutrients, which improves soil quality.
3. The Process of Vermicomposting
- Organic waste (such as vegetable scraps, leaves, paper, etc.) is placed in a compost bin along with earthworms.
- The worms digest the waste and break it down into humus (a dark, nutrient-rich substance).
- Over time, the material becomes rich in essential nutrients like nitrogen, phosphorus, and potassium, which are beneficial for plant growth.
4. Benefits of Vermicomposting
- Waste Reduction: Reduces the amount of kitchen and garden waste that ends up in landfills.
- Improves Soil Fertility: The compost produced improves soil structure, water retention, and provides nutrients to plants.
- Environmentally Friendly: It is a natural and eco-friendly way to recycle waste.
- Cost-Effective: Vermicomposting reduces the need for chemical fertilizers, saving money and protecting the environment.
5. Materials Needed for Vermicomposting
- Earthworms: Commonly used types include red wigglers (Eisenia fetida).
- Organic Waste: Fruit and vegetable scraps, coffee grounds, crushed eggshells, and leaves.
- Compost Bin or Container: A container with ventilation holes for proper airflow.
- Moisture: The compost should be kept damp, not too dry or too wet.
6. What Can Be Composted?
- Green Waste: Fruit and vegetable scraps, coffee grounds, tea bags, grass clippings, and plant trimmings.
- Brown Waste: Leaves, straw, sawdust, and shredded paper.
7. What Should Not Be Composted?
- Meat, dairy products, oily foods, and bones (these attract pests and don’t break down easily).
- Citrus fruits (can be too acidic for worms).
- Chemical waste, plastics, and glass should never be added.
8. How to Set Up a Vermicomposting Bin
- Choose a suitable container (like a plastic or wooden bin) with a lid to keep out pests.
- Add a bedding layer (such as shredded newspaper or coconut coir) to help keep the environment comfortable for the worms.
- Add organic waste and keep the bin in a cool, dark place.
- Maintain the bin by keeping it moist and aerating it occasionally.
9. Harvesting the Compost
- After 3-6 months, the compost will be ready. It will look dark and crumbly and smell earthy.
- Harvest the compost by separating the worms from the finished compost and reusing them for the next cycle.
Let’s practice!

